Joints
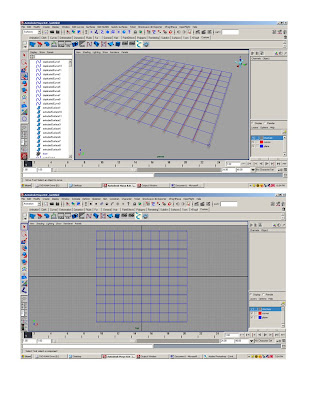
1.Set scene to feet and set camera’s clip plane.
2.Do tutorial 3- the responsive structure.
3.Go to the animation menu.
4.Go to the top view.
5.Engage click to grid
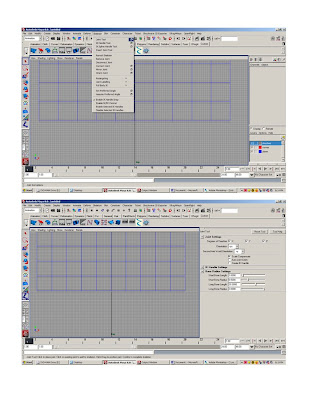
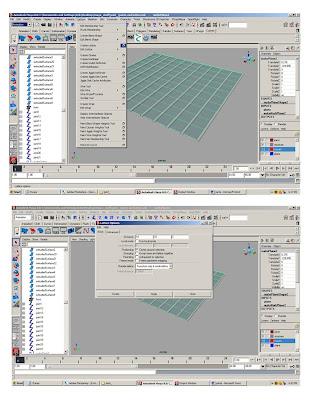
6.Go to skeleton-joint-click on box
7.Rset joint tool
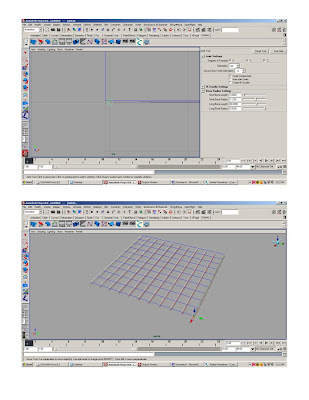
8.Click joint tool on top of structure at every curve
9. Select joints in options window and ‘ctrl d’
10. Move to next structural beam
11. Repeat until joints are on all structural beams
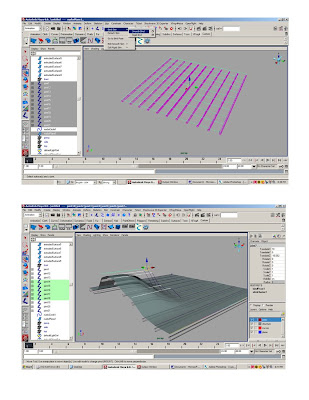
12.Go to Skin-bind skin- smooth bind
13. Select joints put on new layer
14. select any joint and move
Lattice.
1.Do tutorial 3 again
2. Select the plane
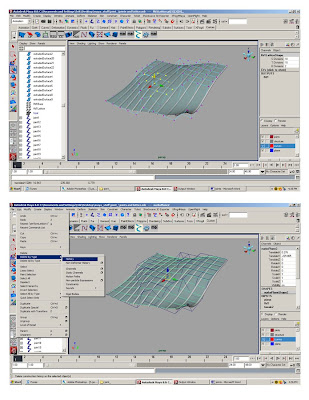
3. Go to Deform- create lattice- click box
4. In ‘divisions’ enter 10 10 and 2, this is the x, y and z
5. Select the lattice in the options window ‘ffd1Lattice’, right click and select ‘lattice points’.
6. Move the lattice points around and see everything move.
Delete the lattice, and the deformed object will go back to its original state.
or
Select the plane goto Edit>Delete by Type>History, and the object will stay deformed, but the lattice will be removed.
Create other objects and apply joints and lattices to see how the objects deform.
No comments:
Post a Comment